

Every other week join us for “Challenge Friday” where we will announce a new creative challenge. We want you to feel inspired to use your supplies in new ways. Have fun with it! Check back often to see the beautiful entries from your Circle Friends . . . you are sure to leave with a desire to get cutting!
.
Weekly Challenge #54: Decorative Letter Challenge!
The Challenge: Create a scrapbook page, card, home decor item, or other project where you include a word of your choice. One or more of the letters in your chosen word must be replaced by a Cricut shape. For example, replace the letter “o” in the word LOVE with a heart.
Rules and Guidelines: Circle Blog Challenges are open to Cricut Circle Members only. Your project must be newly created for this challenge and include atleast 2 Cricut Image Cuts. You must submit a project to be entered into the Challenge Prize Drawing. One entry per person, please.
How to Enter: Submit your entry using the InLinkz tool found at the bottom of this post. Please post your full name along with your entry. Entries are due by 9:00 pm MST on Thursday, March 29th, 2012.
Prize: We will select one winner to receive $25 in credit added to their Cricut.com account. Please allow 4 to 6 weeks for delivery from winner announcement.
Winner: The winners will be selected randomly from qualifying entries using www.random.org and will be announced on the Cricut Circle Blog on Friday, March 30th, 2012.
 |
| Here is the card folded |
 |
| And Opened |
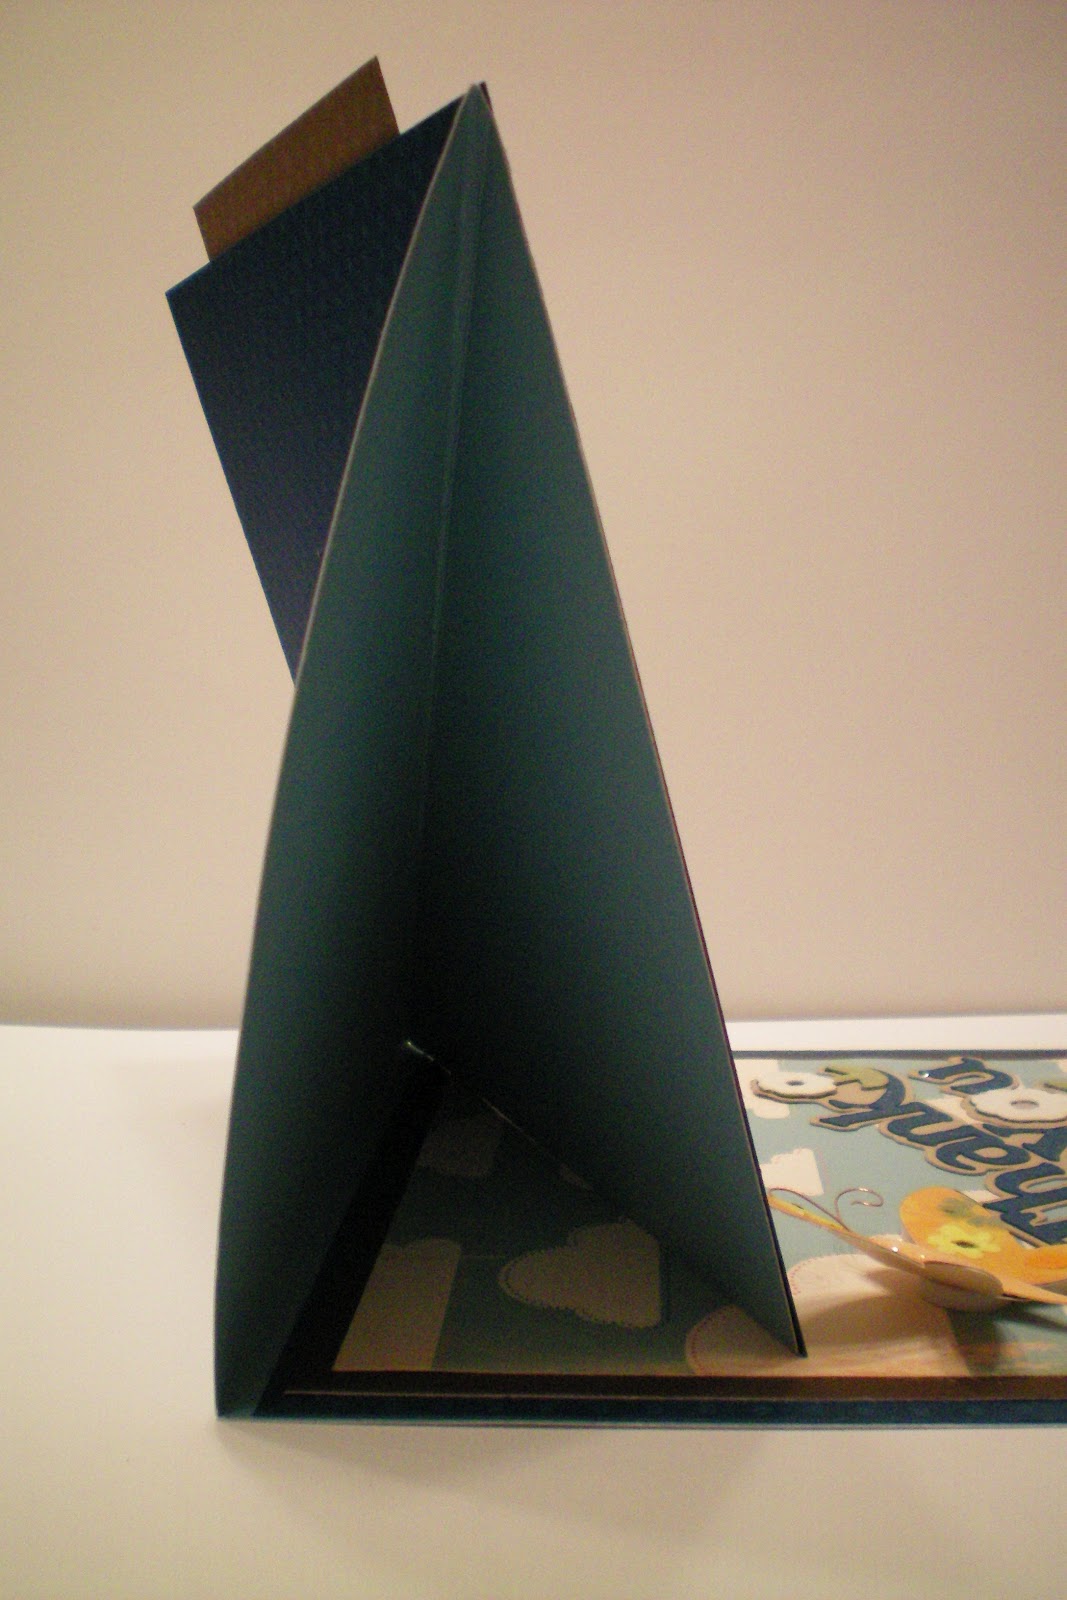 |
| Side View |
Here are the details:
I used my Cricut Imagine, E-2 and Gypsy
Carts used:
Cricut Imagine Hopscotch (Cloud Paper)
Cricut Lite - Live Simply ( Butterflies, and Dragon Flies)
Bloom (Garden Gate)
Bloom (Garden Gate)
Cricut Cart - Paper Lace 2 (Thank-You)
Elisabeth Bell Stamp - Daydreaming
Copics
Bazzill Dots Paper
3D Crystal Lacquer
Martha Stewart Coarse Glitter
Pearls
Making Memories Craft Wire in Copper

Once again, everything is from my stash! I picked up this stamp at least a year ago and never used it. It was also the first time I used the Cricut Lite Cartridges Bloom and Live Simply. I am ashamed to admit that I've had these carts for almost 2 years! I used my copics to color her and mounted her on two squares. I had wanted to try a new style card, so I went with the Twisted Easel because I thought it would be a nice way to feature my Decorative Letter for the challenge. I cut the Thank You in Blue, White and Green since there were no layers available on Paper Lace 2 for the flowers. I cut and pieced the flowers together, then added some 3D Crystal Lacquer and MS Chunky Glitter to them. Here is a close up.

I cut the fence from Bloom at 4 inches. I cut everything in white cardstock, then colored them using my copics. I added some pearls and 3D Crystal Lacquer to the flowers. The shadow of the fence was a test of the Spectrum Noir Alcohol Inks in BG1. I also used the BG10 for the shadow of the window. I got a set of them for $5.00 at AC Moore a while ago using a 60% off coupon. They aren't a bad price price for $11.99, but were a steal with the coupon. I prefer the brush tips on my Copics, and didn't really try any blending, but if you like Alcohol Inks and don't want to spend a fortune on Copics (like I did, LOL!) these are pretty nice.
 |


I cut all the little Butterflies and Dragonflies from Live Simply. Some of the Antennae didn't cut right, so I used some Making Memories Craft Wire to give them new shiny Antennae! I liked it so much, I added the antennae to ALL of them! LOL! I cut the bodies in white and colored them with Copics. I also added some Copics around edges for dimension. I added 3D Crystal Lacquer and MS Coarse Glitter to all the embellies. The bigger cuts used to hold the top of the card in place were done the same way and popped up with dots.
This is one of the many Thank-you cards I am sending out to my BFFs and family for the best 50th Birthday they treated me to last week. I had so much fun with everyone coming to the house for an impromptu party.
It took some time to make, but now that I have an idea how to make these fun easel cards, I'll probably try them again. Thanks for stopping by the blog today!

Happy Crafting!
Colleen
Beautiful scene. Great card.
ReplyDeleteThanks!
ReplyDeleteWow!! Your card is amazing! Now I want to try the twisted easel card :)
ReplyDeleteOh, my goodness! Your card is wonderful! All the detail and layering is beautiful!
ReplyDeleteCarolyn
http://cccscraproom.blogspot.com
wow, you have a lot of detail in this card, it looks awesome! great job on the challenge! waving hi from the hills of North Carolina :)
ReplyDeleteHappy Belated Birthday.
ReplyDeleteI came over from the circle forum to check out all your details on this card. It is so super;
everything you did is perfect & I love it!
What a beautiful card!
ReplyDeleteI love this, Colleen! Belated Happy Birthday too!
ReplyDelete