Now for the winner of my blog candy.
Sara who said:
This is wonderful!
Thank you Sara! Let me know which gift card you prefer and I'll get it in the mail to you!
+copy.jpg)
Here are the details:
Cricut Anniversary E-2 and Gypsy
Carts Used:
Cupcake - Flower Shoppe, Cindy Loo, Gypsy Wanderings and
Tags, Bags, Boxes and More
Card - Birthday Bash
Other Materials:
Styrofoam Ball
DecoArt Snow-Tex
Martha Stewart Glitter - Coarse and Fine Crystal
Tim Holtz Distress Ink - Tea Dye
Tim Holtz Distress Stain - Tea Dye
Stampin' Up Stampin' Pad - Melon Mambo
Viva Decor Pearl Pen - Cream
Happy Birthday Stamp from Stampin' Up
Ribbon
Prima Tulle Flower
Skittles
Birthday Candle
K&Company Papers
Glossy Accents
Hot Glue Gun
Martha Stewart Decoupage Glue and Sealer
First I made the "cupcake". I know the Snow-Tex has a tendency to take a long time to dry. I brushed the Snow-Tex on the Styrofoam ball and set it to dry. I used a jar to sit it in while it was drying. While it was still wet, I sprinkled it with Martha Stewart Fine Crystal Glitter.


I cut the Butterfly Cupcake Wrapper on Cindy Loo at 3.20 Height. Then I used the hide contour feature to create a shadow base for the wrapper. Sorry, I forgot to get a picture of it. I took Distress Stain Tea Dye and dyed a ribbon with it. I brushed the ribbon with Martha Stewart Decoupage Glue and Sealer and sprinkled the MS Course Crystal Glitter on it. Once that was dry, I used some red tape to adhere it to the inside edge of the cupcake wrapper.


Sorry, the last picture doesn't show the shadow cut. I forgot to take a picture of it yesterday, so I "recreated" it for the blog today with a spare ribbon and wrapper. LOL! Once everything was dry, I hot glued the ball into the wrapper and decorated it.
For the wrapper, I cut a flower from Flower Shoppe at 2.12 inches width. and inked the edges. I bent the leaves and when I liked how they looked, I cut the edges of the leaves for interest. I used Glossy accents on the flower to adhere more MS Coarse Glitter. I had an extra center cut from another flower, so I used that as an accent. I added a twine bow and thought it looked sweet!


I added the candle and glued some pink and pearl skittles on the cupcake. I found a couple of butterflies that I had cut from Gypsy Wanderings when I made a Topiary last year in my stash, so I decided to put them to good use and decorate the cupcake with them. Michele Kovack used butterflies cut from the cupcake wrapper for her cupcake. Here's how it turned out.


The card was a piece of cake to make! LOL! I used K&Company papers, lots of distress ink and MS Coarse Glitter. The card was cut from Birthday Bash at 6.50 inches high. I cut 4 of all the layers so that I could decorate the inside and the back of the card. I cut a small tag from Tags Bags Boxes and More and stamped it using Melon Mambo and a Stampin Up Birthday stamp. I decorated the bottom of the tag with some small pearls that were laying on my table. The inside sentiment is my own that I used my computer to print. For the front of the card, I used some lace and a beautiful tulle Prima flower from my stash to decorate it. I wrapped some twine around the candle for fun.
 |
| Inside of card |
 |
| Back of card |

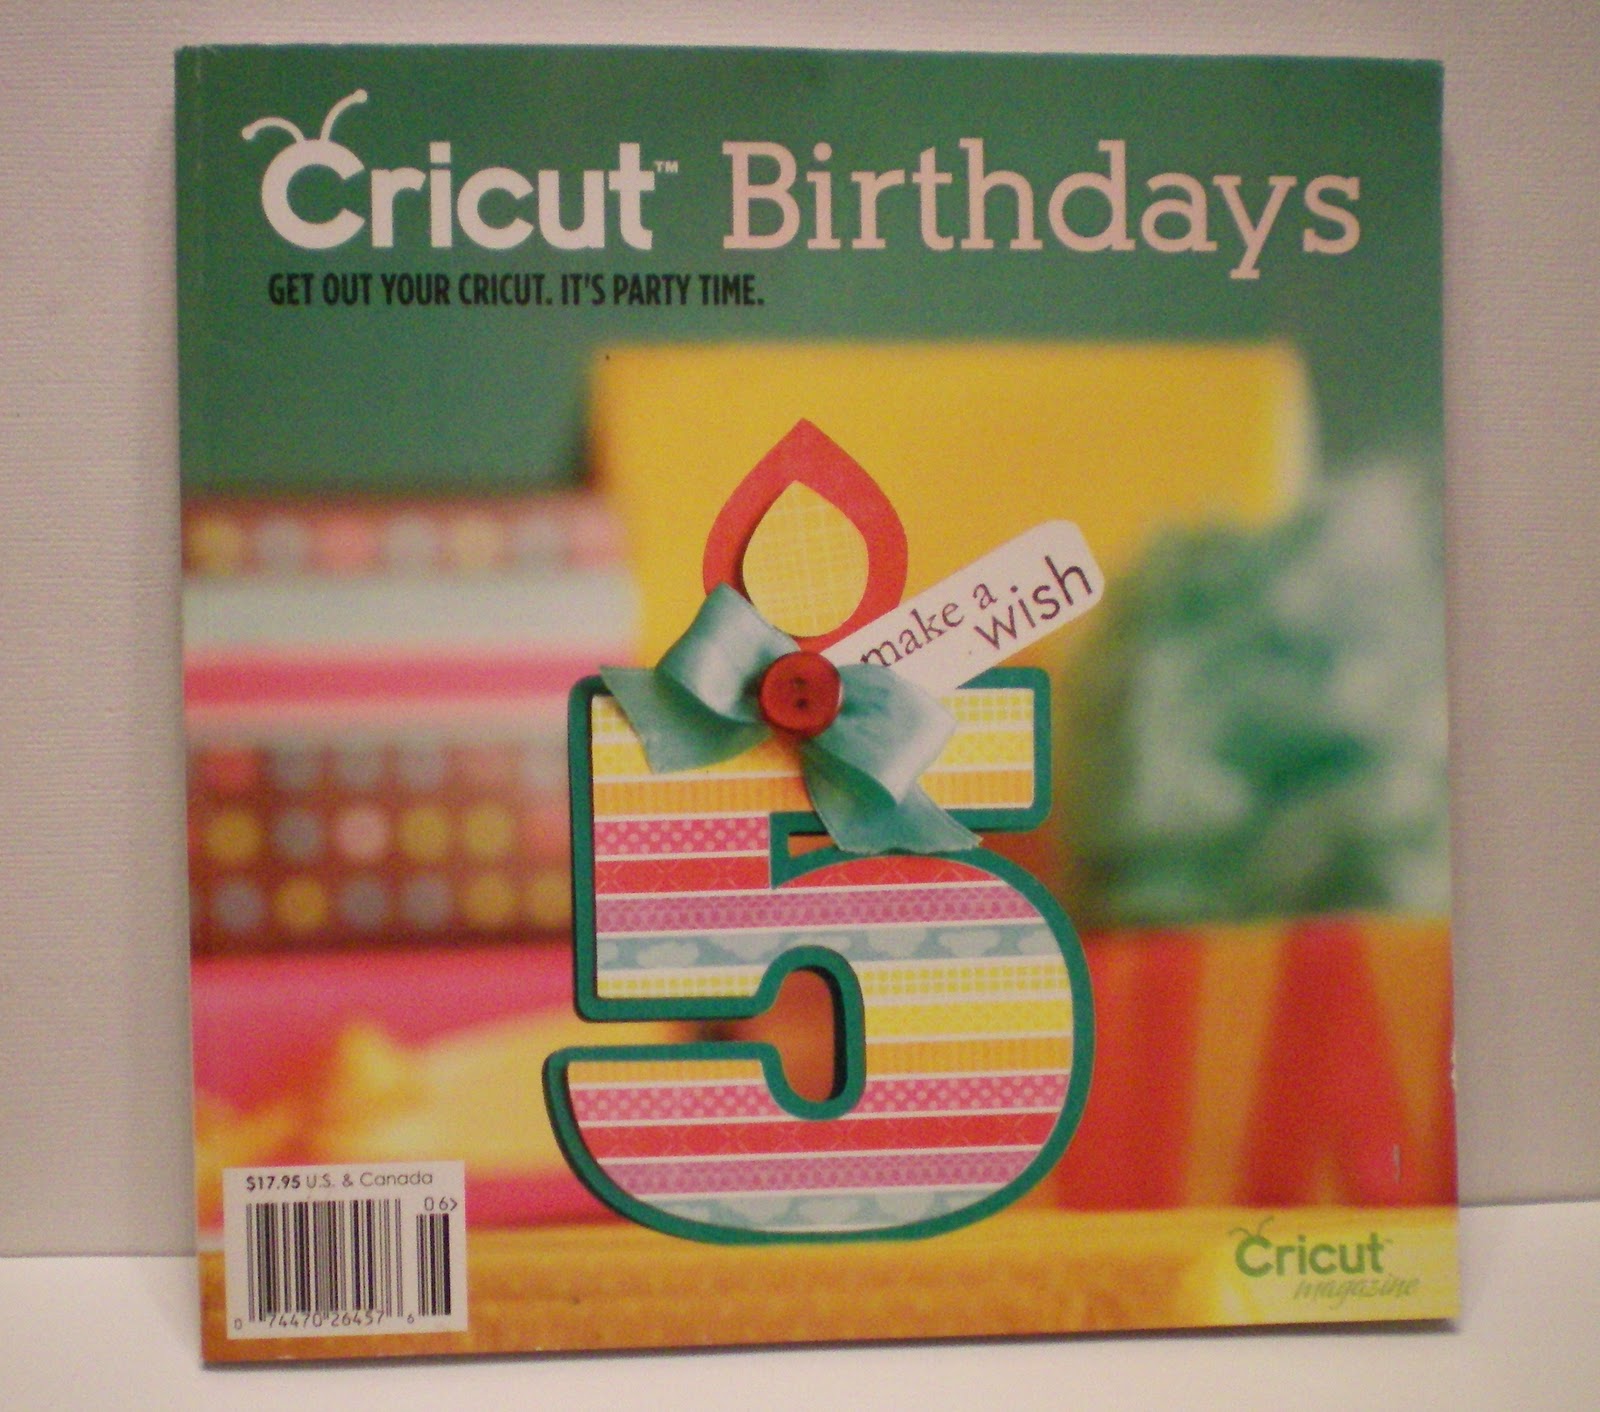
Thank you again for all your support and the wonderful comments you leave. They really make my day! I have ordered a copy of the Cricut Magazine for blog candy. Please leave a comment to be entered. I will be drawing a winner next Friday. I'm hoping it will arrive by then!
One final look at my version of Michele Kovack's Birthday set.

Thanks for stopping by my blog today!
Happy Crafting!
Colleen
Happy Crafting!
Colleen
Lovely gift, Colleen! You did a great job and I appreciate all of the details provided.
ReplyDeleteGorgeousness! Thanks for the opportunity to win a great book-I've had my eye on it for a while:)
ReplyDeleteWowzers!!!! Sooooo beautiful. If the projects in the Cricut Birthday mag are anything like the wonderful ones you made, sign me up!!!!! I have everything except for the Snow-Tex--going to have to keep my eyes open for that!!! Thanks for the chance to win!
ReplyDeleteTeacherMom
gaudet5 at rogers dot com
ADORABLE set!!! What amazing work! LOVE it! Michelle's work inspires me too - she is one of my favorites!!!
ReplyDeletehousesbuiltofcards@gmail.com
www.housesbuiltofcards.blogspot.com
These are awesome! Love the tutorial!!
ReplyDeleteWow, those are so amazing!
ReplyDelete