Tuesday, March 27, 2012

Cricut Monthly Challenge - Mixed Media Maddness


Each month we will announce a new Monthly Challenge. The challenges are designed to inspire you to stretch your creative wings. Have fun with it! You will have the entire month to create a project for the challenge. The project must meet the challenge requirements in order for your name to be entered into the prize drawing.

MARCH MONTHLY CHALLENGE: Creative Sharing Challenge!

March is National Craft Month. Whenever I think about my hobbies, I am so grateful for the opportunity to express myself creatively. It’s a great way to decompress from daily life and feel productive while I create art that means something to me, my family, or the people around me. This month, we want you to display your passion for your craft by creating a piece of wall art to display in your home, office, or wherever! The topic can be whatever you wish . . . just use your craftiness to make something you can display and share with others.
The WINNER of this challenge will receive a $150 Credit to Cricut.com!


The Challenge: Create a piece of wall art (canvas, art board, sign, vinyl directly on wall, framed art, shadow box, etc.). Use at least three colors.
Rules and Guidelines: Circle Blog Challenges are open to Cricut Circle Members only. Your project must be newly created for this challenge and include at least 2 Cricut Image Cuts. You must submit a project to be entered into the Challenge Prize Drawing.
How to Enter: Submit your entry using the InLinkz tool found at the bottom of this post. Please post your full name along with your entry. Entries are due by 9:00 pm MST on Saturday, March 31st, 2012.
Prize: This month the winner will receive $150.00 in credit to Cricut.com.

Hi Friends and Fellow Crafters! And now for something completely different! Today I am posting a project that is really unusual for me, a mixed media project. I have always loved seeing this type of art, but it's the first time I have ever created something like this. I thought about trying to do a mixed media project a couple of years ago when I picked up a magazine called Cloth Paper Scissors. I went out and bought a package of 2 11x14 canvases that promptly went into the black hole that is my stash and sat untouched until I saw the monthly challenge. LOL!
I originally misread the challenge rules and thought that I could only use 3 colors. I had the idea to use the word "Create" and wanted to use the paper on the letters as my inspiration colors. I was able to make the letters easily, then couldn't figure out how to incorporate my ideas with only the 3 colors, then I went back to the challenge a few days ago, re-read the requirements and was thrilled to see it was to use "at least" 3 colors. That opened the creative gates for me and I went back to work on the project.
Here are the details: 
Machines:
Cricut E-2 and Gypsy
Cricut Carts :
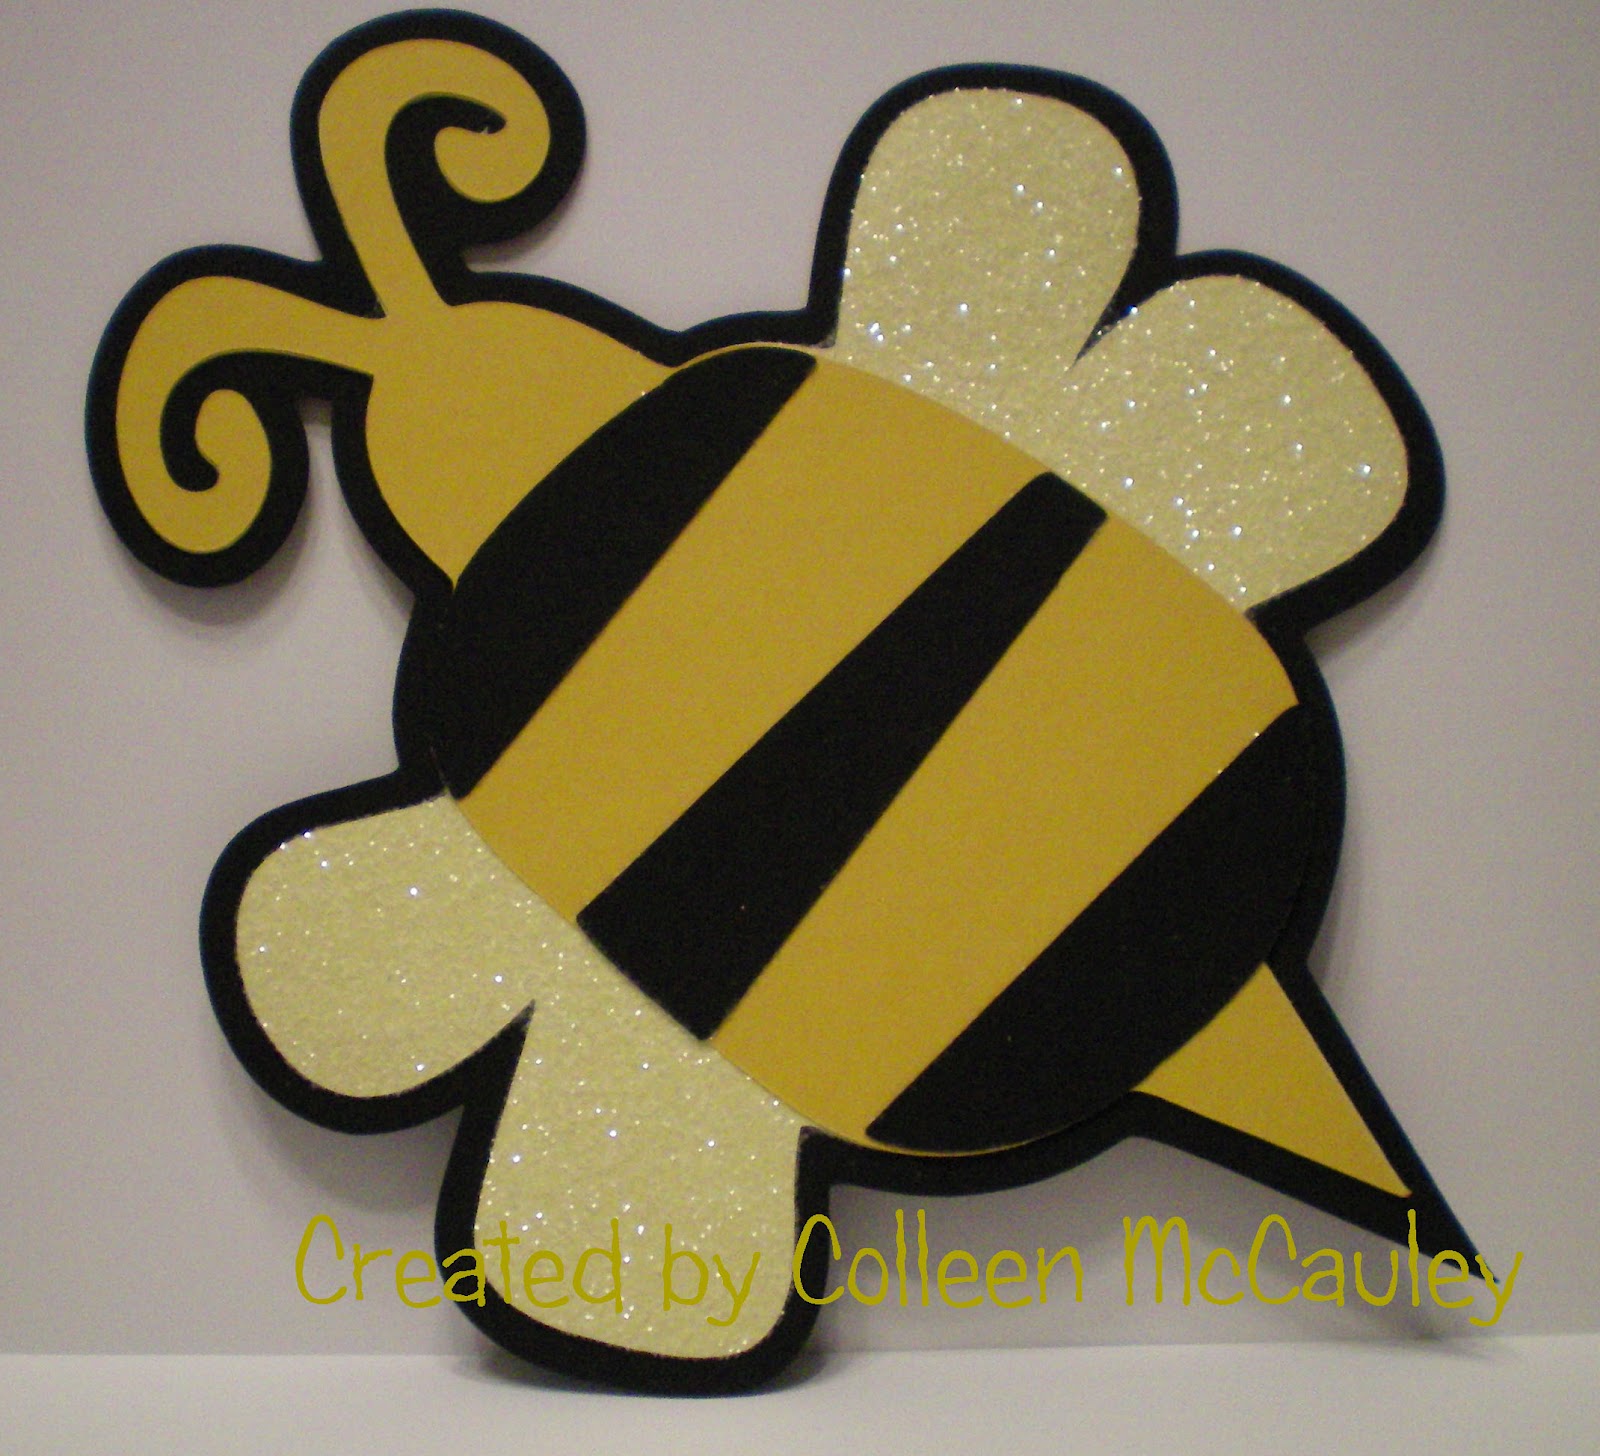
Letter Envy (Create and Swirls)
Cricut Alphabet (Birds)
Hannah Montana (Music Notes)
Live Simply (Butterflies and Dragonfly)
Graphically Speaking (Arrow)
Sweethearts (Scalloped Heart)
Paisley (Small and Large Green Hearts)
Cupcake Wrappers (Butterflies)
All The Rest:
Tim Holtz Small Rosette
Idea-ology Adage Tickets
Idea-ology Numerals
Idea-ology Corners
Idea-ology Tissue Wrap - Composer and Terminology
Idea-ology Grunge Paper
Jenni Bowlin Bingo Card
Stampotique Artsy Flower Stamp
Stampin' Up Melon Mambo Ink
Assorted Stash Items
Ranger Alcohol Ink
Twinkling H2O Paints
K&Company Paper - Brenda Walton Mira
Martha Stewart - Coarse Glitter and Decoupage Gel
Ranger Glossy Accents
Ranger Stickles (blue)
Hot Glue Gun

So if you finished reading the supplies I used and are still here, Thank You for sticking around. LOL!
I can't believe I squeezed so much on to one canvas!
I started by painting the canvas with the Twinkling H2O watercolors, but didn't like how it looked. I went back to my stash and found the Tim Holtz Idea-ology tissue paper and started tearing away! It was so much fun to decoupage the papers on the canvas.


I painted the Twinkling H2Os Wild Blueberry, Ocean Wave, Pink Azalea, and Sunflower again on the papers. I sealed it with the Decoupage Glue and sprinkled some Martha Stewart Coarse glitter on it. If you look closely, you can see where I stamped an image from Stampotique in the upper corner. I was going to stamp more images on the canvas, but was unsure if I liked how it looked. I think I will brave that territory again in the future, but for right now, I'll wait. LOL! I dug into my stash and pulled out some Grunge Paper that I must have had for well over a year. I used the Grunge Paper to cut the shadow. I used a multi-cut of 2 on them. I painted them with Ocean Wave Twinkling H2O. For anyone wondering about cutting Grunge Paper on their Expression, it cuts smooth as silk. Now that I finally used it on a project, I'm hooked!


The papers are all the from the same K&Company Paper stack. One thing I learned by trial and error is to cut thin top layer of the letters on speed 1. I wrecked a couple of pieces of papers trying to cut the layer on speed 3. Once I finished the letters, I added Blue Stickles


 I also cut 4 music notes using the Grunge Paper and painted them. This time, I decided to cover them with paper, so I cut them again with my Cricut and adhered the K&Company paper to the Grunge paper using my Ranger Glossy Accents. I had a green heart Cricut cut sitting on my craft table from some other project that I decided to use as an anchor for a music note. I painted the heart with Ocean Blue Twinkling H2O and adhered them with Glossy Accents. The little arrow in the corner is from Graphically Speaking and was a saved cut that was laying around. The glittered swirls above the birds are leftovers from the 50th Birthday Party Banner. The little chipboard heart on the bottom corner that says "Joy" dates back to 2007 when I began crafting. I bought a pack of Chipboard embellishments in AC Moore that this was included in. It finally found a project! :-)


Once I found the little heart, I started asking myself what else have I been saving for something special? I went to a box with Idea-ology supplies and pulled out a few packages of unopened goodies. I decided to add the number 17 somewhere since that is my birth date. I inked the numbers with Alcohol Inks and glazed them with 3D Crystal Lacquer, then sprinkled more Coarse Glitter on them. I had the rosette on my table and the time piece that I used as the center is from a pack of clock pieces I bought from Making Memories. I went to my stash keeper and pulled out this draw.
Look at those goodies! Everything in this draw was from an eBay auction that cost me 4.00 plus 1.50 for shipping. I "won" them over 3 years ago. At the time, I had no clue what to do with most of the stuff, I think I wanted it because of the keys. I started to build a corner on the canvas. I used a Jenni Bowlin Bingo card, a couple of scraps from the K&Company paper, the rosette, a clip from my draw and a butterfly cut from Cupcake Wrappers that I adhered with pop dots.

I added a couple of hearts to the corner where I stamped the Artsy Flower and added an arrow from the what was now becoming a "go to" draw for the project. Then I found the two book plates in the draw and decided to use them. I inked a couple of Idea-ology Adage Tickets and used hot glue to add them to the canvas.

Finally, I added the butterflies and dragonfly to the letters. They are covered with Coarse Glitter. I added the Idea-ology corners to the canvas and signed it.

This was a blast to create! It was messy and sticky! I was covered in glitter and paint, but I can honestly say it was fun and liberating. Even better, everything was from my stash!

Thanks for stopping by my blog today!

Happy Crafting!
Colleen


Sunday, March 25, 2012

Cricut Circle Blog Weekly Challenge #54 Decorative Letter Challenge


Hi Friends and Fellow Crafters! Today I am sharing my first attempt at a Twisted Easel Card. I followed a tutorial I found at PaperCraftPlanet. There are also video tutorials on YouTube if you prefer to learn by video. I am entering this card into the Cricut Blog Weekly Challenge. Here's the info for this week.

Every other week join us for “Challenge Friday” where we will announce a new creative challenge. We want you to feel inspired to use your supplies in new ways. Have fun with it! Check back often to see the beautiful entries from your Circle Friends . . . you are sure to leave with a desire to get cutting!
.
Weekly Challenge #54: Decorative Letter Challenge!
The Challenge: Create a scrapbook page, card, home decor item, or other project where you include a word of your choice. One or more of the letters in your chosen word must be replaced by a Cricut shape. For example, replace the letter “o” in the word LOVE with a heart.
Rules and Guidelines: Circle Blog Challenges are open to Cricut Circle Members only. Your project must be newly created for this challenge and include atleast 2 Cricut Image Cuts. You must submit a project to be entered into the Challenge Prize Drawing. One entry per person, please.
How to Enter: Submit your entry using the InLinkz tool found at the bottom of this post. Please post your full name along with your entry. Entries are due by 9:00 pm MST on Thursday, March 29th, 2012.
Prize: We will select one winner to receive $25 in credit added to their Cricut.com account. Please allow 4 to 6 weeks for delivery from winner announcement.
Winner: The winners will be selected randomly from qualifying entries using www.random.org and will be announced on the Cricut Circle Blog on Friday, March 30th, 2012.
Here is the card folded
  
And Opened
Side View
Here are the details:
I used my Cricut Imagine, E-2 and Gypsy
Carts used:
Cricut Imagine Hopscotch (Cloud Paper)
Cricut Lite - Live Simply ( Butterflies, and Dragon Flies)
Bloom (Garden Gate)
Cricut Cart - Paper Lace 2 (Thank-You)
Elisabeth Bell Stamp - Daydreaming
Copics
Bazzill Dots Paper
3D Crystal Lacquer
Martha Stewart Coarse Glitter
Pearls
Making Memories Craft Wire in Copper


Once again, everything is from my stash! I picked up this stamp at least a year ago and never used it. It was also the first time I used the Cricut Lite Cartridges Bloom and Live Simply. I am ashamed to admit that I've had these carts for almost 2 years! I used my copics to color her and mounted her on two squares. I had wanted to try a new style card, so I went with the Twisted Easel because I thought it would be a nice way to feature my Decorative Letter for the challenge. I cut the Thank You in Blue, White and Green since there were no layers available on Paper Lace 2 for the flowers. I cut and pieced the flowers together, then added some 3D Crystal Lacquer and MS Chunky Glitter to them. Here is a close up.

I cut the fence from Bloom at 4 inches. I cut everything in white cardstock, then colored them using my copics. I added some pearls and 3D Crystal Lacquer to the flowers. The shadow of the fence was a test of the Spectrum Noir Alcohol Inks in BG1. I also used the BG10 for the shadow of the window. I got a set of them for $5.00 at AC Moore a while ago using a 60% off coupon. They aren't a bad price price for $11.99, but were a steal with the coupon. I prefer the brush tips on my Copics, and didn't really try any blending, but if you like Alcohol Inks and don't want to spend a fortune on Copics (like I did, LOL!) these are pretty nice.


I cut all the little Butterflies and Dragonflies from Live Simply. Some of the Antennae didn't cut right, so I used some Making Memories Craft Wire to give them new shiny Antennae! I liked it so much, I added the antennae to ALL of them! LOL!  I cut the bodies in white and colored them with Copics. I also added some Copics around edges for dimension. I added 3D Crystal Lacquer and MS Coarse Glitter to all the embellies. The bigger cuts used to hold the top of the card in place were done the same way and popped up with dots.
This is one of the many Thank-you cards I am sending out to my BFFs and family for the best 50th Birthday they treated me to last week. I had so much fun with everyone coming to the house for an impromptu party. 
It took some time to make, but now that I have an idea how to make these fun easel cards, I'll probably try them again. Thanks for stopping by the blog today!

                                              
Happy Crafting!
Colleen

Monday, March 19, 2012

Bees for Henryville, Indiana

Hi Friends and Fellow Crafters!
Last week a call came in for help from a member of the Cricut Circle. Here is a bit of her post:

OK Circle Sisters... I need some help. As you may or may not know, Henryville IN was hit by a massive tornado last Friday and the school was all but destroyed. This is a small but very determined community that is working hard to get their kids back in school quickly. Their goal is sometime during the week of March 19th.

I have a good friend with kids in this school as well as an acquaintance who is a teacher there and was IN the building when the tornado hit. My friend and some other moms have taken on a project to make a tag for every child on the first day back to school. Knowing I have a Cricut.. .she called me.

So we designed a very simple tag (their mascot is a hornet but we had to go with a bee. I did a VERY quick mockup and picture so you could see what we're looking for. We need to make 700 of these in the next week plus. Would any of you be willing to help?

Basic design is Walk in My Garden - Tag Bee1 at 7 inches (height) in black and and shift Tag Bee1 in yellow.


Here are some of my tags and bees.
She received the responses very quickly and she had 700 offered in no time. I wanted to help out, so along with tags, I made extra bees for bulletin boards or classroom doors. They were promptly mailed and she had received them by Thursday. I saw some footage this morning of the Tornado going through the Middle School and the devastation is incredible. It's a small gesture, but I feel like even little things might help the students returning to school feel like there is some normalcy in their lives.
I wish all the people and communities struck by this disaster some peace and strength as they rebuild their lives.


Happy Crafting!
Colleen

Sunday, March 18, 2012

Cool Giveaway!

Hi Friends and Fellow Crafters!
Anyone who has followed my blog is used to seeing me do posts about my versions of Michele Kovack's creations. I adore her style of crafting. It's very eclectic. I just wanted to let you all know that she is having a fabulous giveaway of not one but two copies of the new Cricut Cartridge Tags, Bags, Boxes and More2.
Why not stop at her blog and enter!
Happy Crafting!
Colleen

Thursday, March 15, 2012

Cricut Circle Weekly Challenge #53


Every other week join us for “Challenge Friday” where we will announce a new creative challenge. We want you to feel inspired to use your supplies in new ways. Have fun with it! Check back often to see the beautiful entries from your Circle Friends . . . you are sure to leave with a desire to get cutting!
.
Weekly Challenge #53: Wearing O’ the Green Challenge!

The Challenge: Create a pin, necklace, bracelet or something else that you can wear on St. Patrick’s Day that includes the color green.
Rules and Guidelines: Circle Blog Challenges are open to Cricut Circle Members only. Your project must be newly created for this challenge and include at least 2 Cricut Image Cuts. You must submit a project to be entered into the Challenge Prize Drawing. One entry per person, please.
How to Enter: Submit your entry using the InLinkz tool found at the bottom of this post. Please post your full name along with your entry. Entries are due by 9:00 pm MST on Thursday, March 15th, 2012.
Prize: We will select one winner to receive $25 in credit added to their Cricut.com account. Please allow 4 to 6 weeks for delivery from winner announcement.
Winner: The winners will be selected randomly from qualifying entries using www.random.org and will be announced on the Cricut Circle Blog on Friday, March 16th, 2012.


Hi Friends and fellow Crafters! Happy St. Patrick 's Day! I love St, Patrick's Day, I love the parades and the fun that surrounds it. I think the real reason why I love it so much is because it's my birthday! LOL!
I haven't done a challenge in ages, and with my Mom being ill and the party a couple of weeks ago, I didn't have much time for crafting. Now that things have calmed down, I thought this was a great time to do a challenge. I went very simple for this challenge and created a pin for my Mom. I used Flower Shoppe and A Child's Year for the Shamrock. The shamrock is made of Shrinky Dink material. I tried using my heat gun to shrink it, and while it worked, I think I personally like the oven method better. I colored it with Copics. Once it was shrunk, I didn't like how the color looked, so I covered it with stickles. I cut a large flower from Flower Shoppe, added some ribbon, spritzed it with Green Meadow Glimmer Mist and hot glued the pin to it.
It didn't photograph well, but it's pretty and my Mom loves it!
Thanks for stopping by the blog today! I hope everyone has a safe and Happy St. Patrick's Day!
Happy Crafting!
Colleen